Maya 3D Modelling - Japanese Wooden Gate
- Timothy Joyce

- May 18, 2021
- 3 min read
Updated: Nov 13, 2023

This is an account of my experience creating projects in Maya. As such, it will include pictures of my early and unfinished work.
Referencing
I wanted a Japanese theme for my environment and decided to use the Hirata Estate level from Sekiro as it makes for a perfect reference, one that provides a realistic environment of the AAA standard. I needed a doorway for the next part in my level and found there was a wooden gate in my reference picture which I didn't have a suitable replacement mesh for.
First of all, I took reference pictures of the gate so I could see it from all different angles, this helped me identify how the gate was constructed and the different textures used (Japanese wood, bamboo etc.). I also took pictures with Sekiro's player character stood close to the gate which helped me judge scale.
Whilst viewing my screenshots, I realised that I was switching between windows too often, so I found a piece of software called PureRef which enabled me to better organise my reference pictures.

Modelling
I started with the main foundations of the gate by modeling the load bearing beams and joists that the roof sits on, including the crest-like decor and supports. With the foundations complete I then modeled the door, complete with its metallic hinges, bolts and panels.
Next, I modeled the smaller structure adjacent to the main gate and its roof in addition to the large roof that sits upon the main gate. Then, I modeled the bamboo hatching that covers the roof as well as the rope that holds it together. Lastly, I modeled the sheath that covers the apex of each roof.


Texturing
With the mesh modeled, I created the UV maps and textured each section according to the references I had.
At first, I created layered textures in the Hypershade then applied the material to the mesh and tweaked the UVs to ensure the texture appeared correctly.

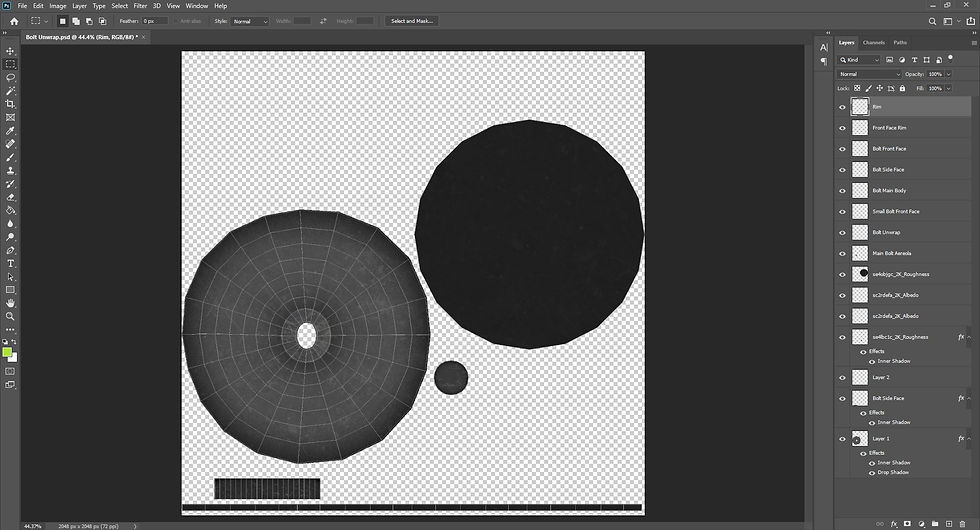
Needing more control, I textured some elements (such as the metal door panels) by editing UV snapshots in Photoshop.
For the roof sheath I used Substance Painter, and I learnt how to use texture sets, generators and masks.

Once textured, I imported it into UE4 and created a new level for rendering. I created a grey environment and added some directional lights to highlight the mesh. I also added a reflection capture and a skylight which gave me finer brightness control. I built the lighting and once I was satisfied, I rendered my scene using a high resolution screenshot.
Going one step further, I tweaked the mesh so I could showcase it with both open and closed doors:


Retrospective
Overall, the modelling process was straightforward and I didn't encounter any problems. Using the knowledge I gained from modelling the medieval castle tower, I divided the mesh into sections which made the modelling process much easier. Additionally, I modeled only half of the mesh which allowed me to later use a mirror and significantly cut down the amount of work.
Texturing on the other hand was more of a challenge. I used three different methods to texture my model:
Maya's Hypershade
UV snapshots in Photoshop
Substance Painter
When it came to texture the roof sheath, I struggled to get a good result using the first two methods so I eventually tried using Substance Painter (a dedicated 3D texturing program). This turned out to be the best way to texture my model as it provided all the right tools to get realistic looking textures.
If I was to do this mesh again, I would change my process by doing the modeling in Maya first, then importing the mesh into Substance Painter to do the texturing. Additionally, I would use the new workflow for painting across UV tiles, which would allow me finer control and quicker working when texturing.


Comments